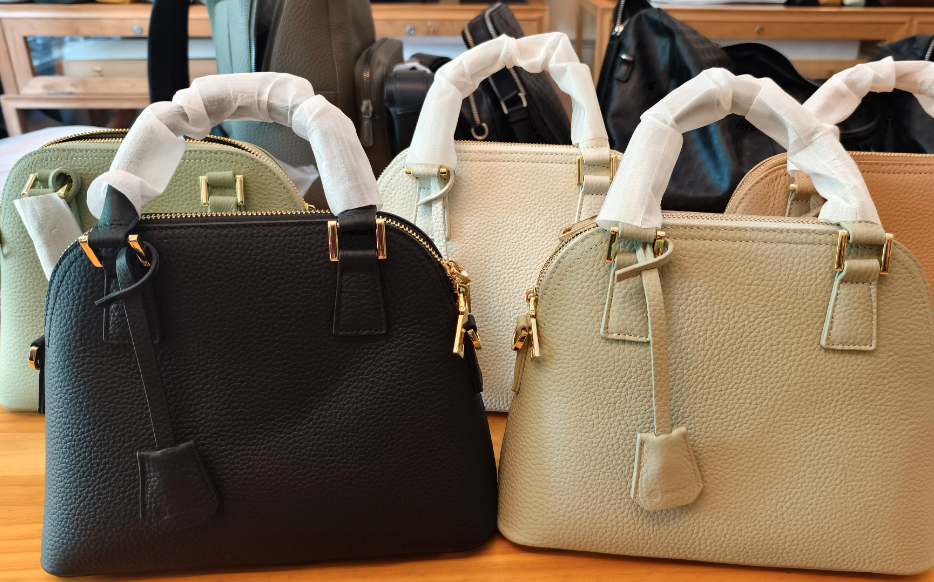
“When the tote bag ordered from the factory arrived, the seams were frayed” and “A large number of uneven colors and metal fittings were distorted, so we were busy dealing with returns” – these quality problems are repeated at OEM procurement sites.
Many of the causes are not the product itself. The problem is the “gap in quality perception” between factories and buyers.
Without a clear inspection standard, the definition of “good product” is left to the discretion of the factory. The quality that buyers demand is not guaranteed forever.
In this article, we will explain how to create tote bag OEM quality inspection standards in five steps. Even if you are new to OEM, we will deliver you a practical level of content that you can put into practice right away.
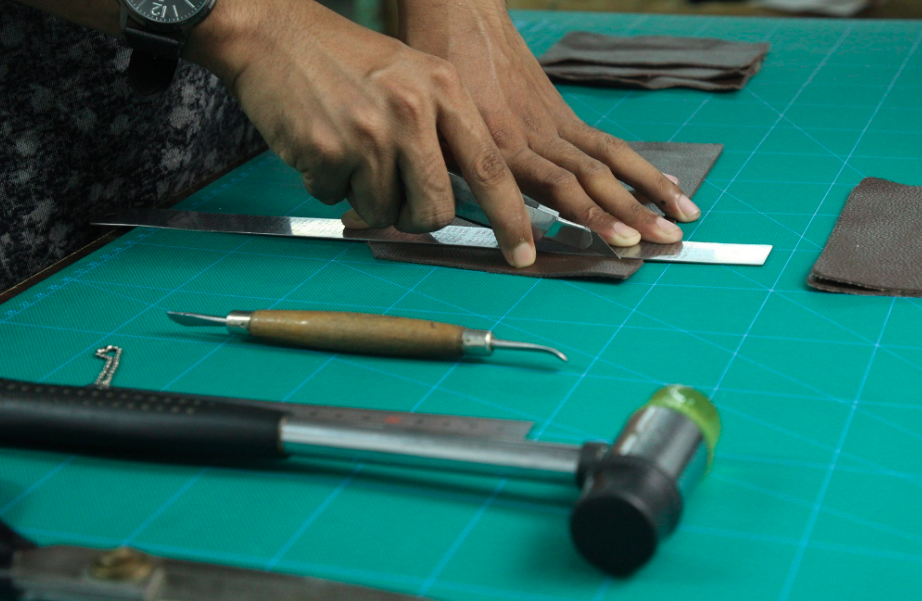
STEP 1|Tote Bag OEM: Clarifying Product Specs for Inspection Standards

The accuracy of the tote bag inspection standard is proportional to the definition accuracy of the product specifications. No matter how detailed the inspection flow is designed, if “what is the correct state” is not determined, the standard will not work.
The first thing to do is to quantify the product specifications. Define the following three items with specific numbers.
-
Dimensions: Body length× width× gusset, handle length (e.g., body H40cm±1.0cm, W35cm±1.0cm)
-
Material: Canvas thickness and weight (e.g., 12 ounces or more), lining material and specifications
-
Sewing: Number of stitches (e.g., 8-10 stitches per 1 inch), seam allowance width (e.g., 1.0 cm± 0.2 cm)
Specify “who, what, and how to judge” in the specification
What is often overlooked in tote bag specifications is the clarification of the subject of action and judgment criteria.
The way you write “neatly sewn” is interpreted by the subjective opinion of the factory. This creates a misalignment of perception. Instead, write this:
“Two inspection personnel will check the three items of appearance, dimensions, and quantity within 20 minutes, and the dimensions will be checked with the specifications, and the ± will be accepted within 0.1mm.”
This rewriting alone clarifies the judgment criteria of the site.
When writing, please follow the principle of 1 step = 1 action. Combining multiple checking actions can make it easier for omissions to occur at the site.
Items to prioritize specifications
If you try to complete all the specifications at once, the work will stop. It is practical to quantify items with a high risk of defects.
|
Priority |
Items |
Rationale |
|---|---|---|
|
High |
Sewing, fittings, and handle base |
Durability defects are directly linked to complaints |
|
Medium |
Materials, color differences, and prints |
Frequent reasons for returns |
|
Low |
Internal Tags & Auxiliary Materials |
Limited scope of influence |
Solidifying specifications with this priority will help you smoothly move to the next step (listing defective items).
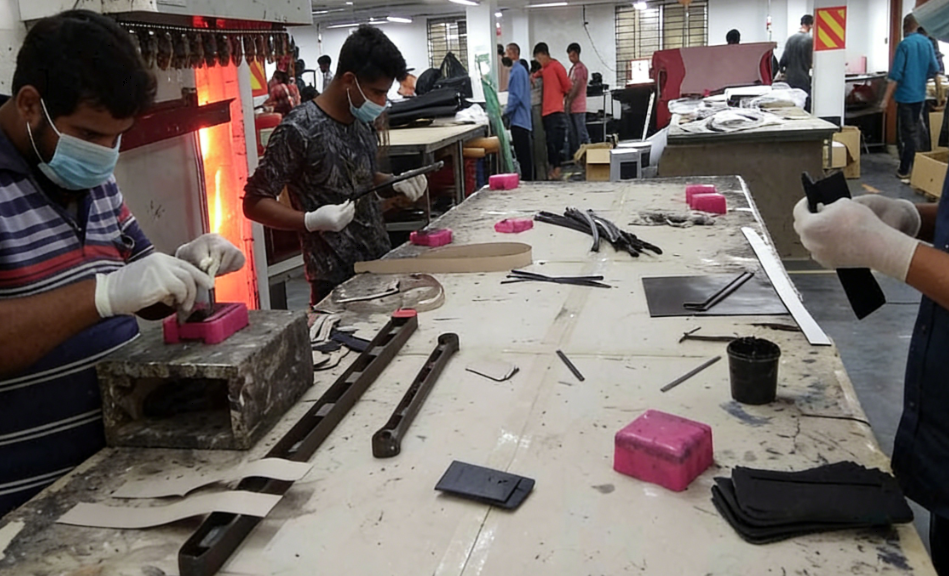
STEP 2|Tote Bag OEM: How to Systematically Classify and Set Check Items
A common mistake in inspection standards is that it ends with “just arranging the items”. OEM bag quality check items only work when they are organized by category.
The basic organization of tote bag OEM inspection is to divide it into the following five categories.
|
Categories |
Main checks |
|---|---|
|
Sewing |
Stitch uniformity, fraying, and seam allowance width |
|
Material |
Fabric thickness, color difference, surface scratches, and stains |
|
Metal fittings and auxiliary materials |
Fastener operation, D-can, and tack attachment strength |
|
Dimensions |
Dimensions of each part of the body, handle, and gusset |
|
Printing & Processing |
Printing position, coloration, and peeling |
Once you have decided on a category, please associate each item with “who, what to use, and how to make decisions”. If this part is ambiguous, the judgment will vary depending on the inspector.
Prioritizing according to bad risk
If all items are inspected with the same weight, the load on the site will increase and oversights will occur. Determine the priority of the category based on the amount of damage caused by the defect.
-
Top priority: Sewing and fittings (durability defects are directly related to complaints during use)
-
Medium priority: Materials and prints (poor appearance is a risk of return or brand damage)
-
Low priority: Tags and internal auxiliary materials (limited scope of influence)
Once the priority is determined, it will also be easier to determine the number of test samples to be designed in the next step and the allocation of AQL criteria. Category classification is the “skeleton” of the entire inspection flow. We recommend that you proceed while checking with the on-site staff at the factory.
STEP 3|Tote Bag OEM: Sample Check to Prevent Quality Risks
If a defect is discovered after entering mass production, the correction cost will be several times higher than before production. Formal sample confirmation at this stage is the biggest risk avoidance in tote bag OEM manufacturing quality control.
The key to sample confirmation is to decide in advance which samples, how many samples, and how to judge them. If these three points are not determined, the confirmation work will end up as a personal “visual check”.
Quantifying Judgment Criteria with AQL and Ac/Re
For random inspections, be sure to set the following three values in advance.
-
AQL (Acceptable Quality Level): The maximum defect rate that can be accepted as a lot. Items related to durability such as sewing and metal fittings are 1.5%, and minor items in appearance are 4.0%
-
AC (Number of Passing Decisions): The maximum number of defective products that can be accepted in the sample. If this number is less than this, the lot passes
-
Re (Number of Failed Judgments): The lot failed when this number is exceeded. Move to a retest or improvement order
Sample confirmation operation procedure
-
Determine the number of lots (based on the production quantity)
-
Set AQL and inspection levels to calculate the required number of samples
-
Random sample sampling (from multiple production lines to ensure process representativeness)
-
Train inspectors using limit samples and share AC/Re criteria
-
If it is AC or lower, the lot passes, and if it is Re or higher, it will move to full inspection.
If there are unsuccessful lots, please inspect them all. Although it is costly, it minimizes the risk of shipping defective products.
Note: If sample randomness cannot be ensured or if there is variation in the skills of the inspector, the results will be less reliable. It is recommended that the inspection level review and training for personnel be carried out as a set.
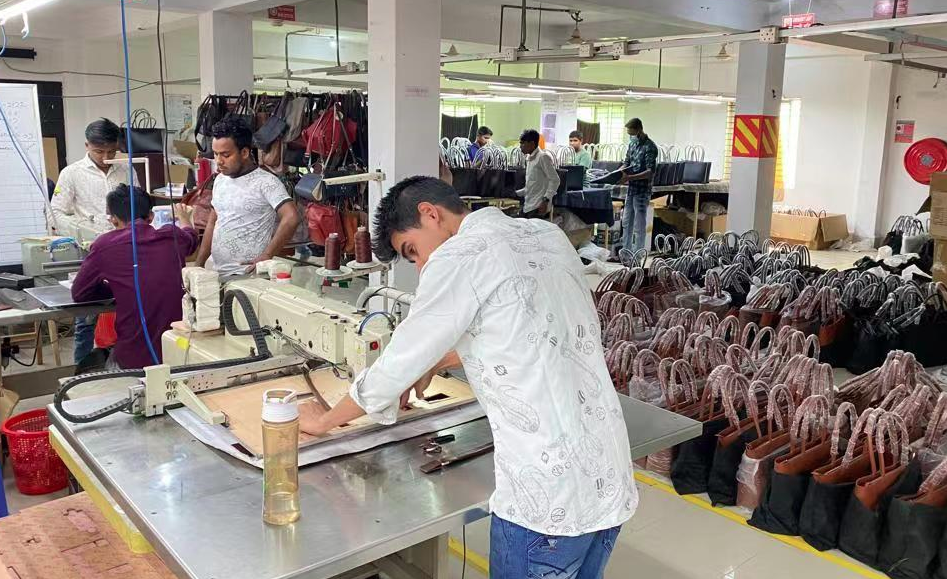
STEP 4|Tote Bag OEM: Inspection Standards & Methods
Once the criteria are complete, the next step is to design “how to inspect”. If the inspection method is wrong, it will only increase the cost and the defective product will not be stopped. The worst result.
There are two main types of inspection methods used in tote bag OEM: full inspection and random inspection.
Full Inspection vs. Spot Inspection: Which One to Choose?
|
Items |
Full inspection |
Random inspection |
|---|---|---|
|
Inspection target |
All Products |
Some samples |
|
Risk of defective spillage |
Almost zero |
Statistically acceptable |
|
Cost and time |
High |
Low |
|
Tests that can be applied |
Non-destructive only |
Destruction and sensory testing are also possible. |
There are two cases where you should choose a full inspection. Lots with contractual obligations or where there is a concern about fatal defects (e.g., broken fittings).
There are two cases where spot inspection is suitable. This is a case of mass-produced products with a large number of lots, or cases where the process is stable and the quality variation is small.
Design of sampling inspection using AQL criteria
In the sampling inspection, the number of samples and the number of pass/fail judgments are determined based on JIS Z 9015. Simply match the lot size with the AQL value to know how many samples you need.
The basic settings are as follows.
-
Major defects (sewing/fittings): AQL 1.5%
-
Minor defects (appearance and print): AQL 4.0%
Response flow when a failed lot comes out
If the lot is rejected by randomization, please choose from the following four options.
-
Sorting all – removing defective products and shipping only good products
-
Rework (repair) – If it is a minor defect, it can be repaired
-
Downgrade – Repurposing to a different use or channel
-
Disposal – when there are many fatal defects
The policy for dealing with unqualified lots should be clearly stated in the contract or standard with the factory in advance. If you decide after trouble occurs, the negotiation will be prolonged.
STEP 5|Tote Bag OEM: Standardizing Inspection & Contracts
The standard document does not work with “make and finish”. It is meaningful only when it is actually used by the on-site personnel in the factory and serves as evidence in the event of a problem. The final step is to template the reference and share it with the factory and incorporate it into the contract.
Template Basics
Please unify the inspection standards in the following table format. By including Japanese-Chinese translations, we can greatly reduce communication losses with Chinese factories.
|
Items |
Reference value |
How to determine |
Retest Trigger |
Chinese-Japanese translation |
|---|---|---|---|---|
|
Superficial injury |
No scratches larger than 1 mm |
Visual view (30cm, natural light) |
Discover even one |
Minor blemishes/minor blemishes |
|
Dimensional error |
± Within 1mm |
Calipe measurement |
± Lot failed over 2mm |
Serious Defects/Severe Defects |
|
Weight error |
Within ±3% of the specified value |
Electronic scale |
± All inspections are conducted at more than 5% |
Medium Blemishes/Medium Blemishes |
|
Printing misalignment |
Within 1mm |
Ruler measurement |
Confirmation required for over 1mm |
Medium Blemishes/Medium Blemishes |
Please also specify the definition of the defect level in the standard document.
|
Levels |
Japanese |
Specific examples |
|---|---|---|
|
Minor defects |
Minor flaws |
Surface micro-scratches (less than 1 mm), minor discoloration |
|
Moderate defect |
Medium blemishes |
Poor appearance (within 3 mm), misalignment without functional impact |
|
Serious defects |
Serious defects |
Dimensional deviation ± >2mm, large cracks |
|
Fatal flaw |
Fatal flaws |
Unusable, Critical Loss of Function |
After the introduction of this translation template, there is a case where the variation was drastically reduced by all five inspectors after the introduction of this translation template.
Summary|Quality standards are the “language of contracts” that protect your brand
The real cause of quality problems in OEM transactions is not the technical capabilities of the factory. The problem is that both sides cannot define “what is passed” in the same words.
We will review the steps of creating the inspection standard document explained in this article.
-
Specification clarification
-
Systematization of check items
-
Design of AQL criteria
These are practical steps to bridge the gap. Once you have an OEM quality inspection checklist in place, it becomes a reusable asset. We fundamentally cut off the quality risks that accumulate every time an order is placed.
Next Action: First of all, keep the tote bag specification of your product handy. And let’s start by filling in the items in STEP 1. A perfect standard book cannot be completed in a day. However, “the one I started writing” is the shortest distance to zero defective products.
Recent Comments